Food Bits
February 15, 2011 2 Comments
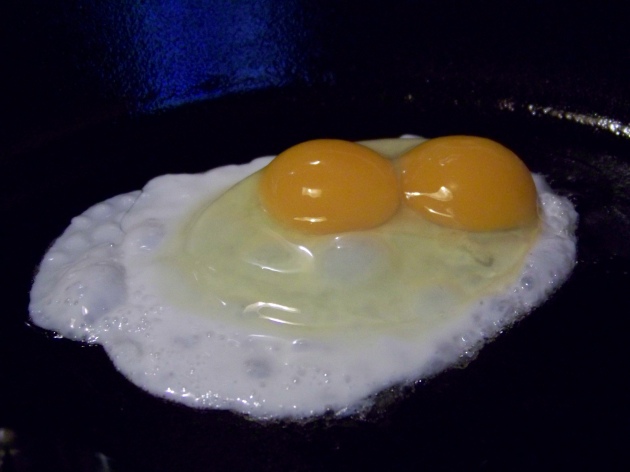
One of my favorite breakfasts is eggs over easy with a couple slices of buttered toast to dip into the warm, silky egg yolk. Looky what I found yesterday when I cracked my egg.
Double yolker! It’s been over a decade since I’ve seen one of these. If you haven’t seen one in the last decade or two then you’ve probably been using commercial eggs. Commercial eggs are screened and any double yolkers (or no yolkers, which I didn’t even know existed) are removed. Most small egg farmers don’t bother checking because it’s a natural occurrence for young hens and there’s absolutely nothing wrong with a double yolker. The commercial egg industry and most customers just prefer uniformity. I personally welcome a little natural variance every now and then. And if you think they contain twice the cholesterol or fat of a single yolker, they don’t. The doubles are about half the size of a single so it usually balances out. Anyway, it made my morning. It’s a good sign that my local, pastured eggs are fresh and natural.
Here’s another example of how consumers prefer uniformity. Bananas are yellow, right? Well it depends. Check out my bananas.
If you are shopping in conventional grocery stores, you’re going to find lots of the same variety of yellow bananas (Cavendish) displayed prominently year round. You’ll have to look a little harder to find these red ones. They have a slight tartness compared to a yellow banana, and the inside was a pale orange or peach color. They also contain more carotene. Why eat a boring yellow banana when I can snack on a red one instead?
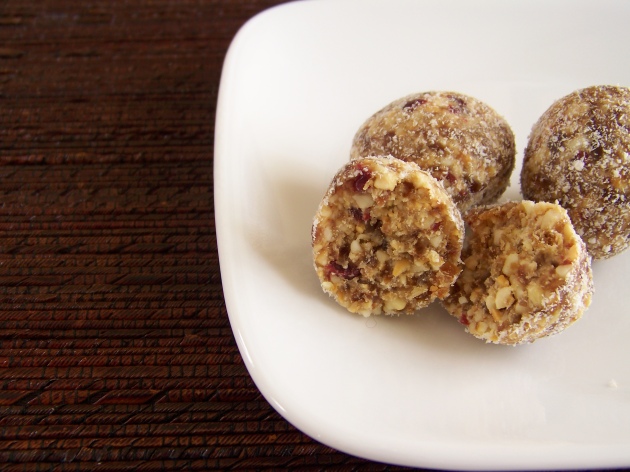
Another one of my favorite snacks is a Cashew Cookie Lara Bar. They are so delicious and they only have two ingredients – cashews and dates. That’s it. No salt. No sugar. No oil. The down side is… they’re expensive. Trader Joe’s has the best price ($1.29 each, I think) and sometimes Harris Teeter has a sale on them (10 for $10). So I decided to try making them myself. I put equal parts of raw cashews and dried dates in the food processor and then rolled them into balls (which was a little tricky) and then coat them in a little toasted coconut. I even added a handful of dried cranberries for color and tartness. The best part of making them from scratch is that I can play around with the ingredients, while saving a little money. Haleigh doesn’t like Lara Bars, but almost can’t resist these because they look so yummy.
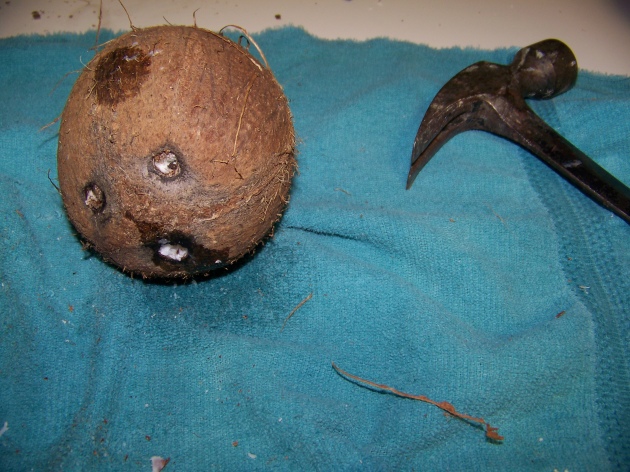
The toasted coconut has been in my freezer for about a month. I had never bought a whole coconut before and wanted to give it a try. So I bought three and they sat on my counter for a couple of days while I figured out how to open them and what to do with them once I managed that. Opening them felt more like carpentry than food preparation. I used a hammer, a nail and an old kitchen towel. First I poked holes in the eyes (with hammer and nails) to drain the water.
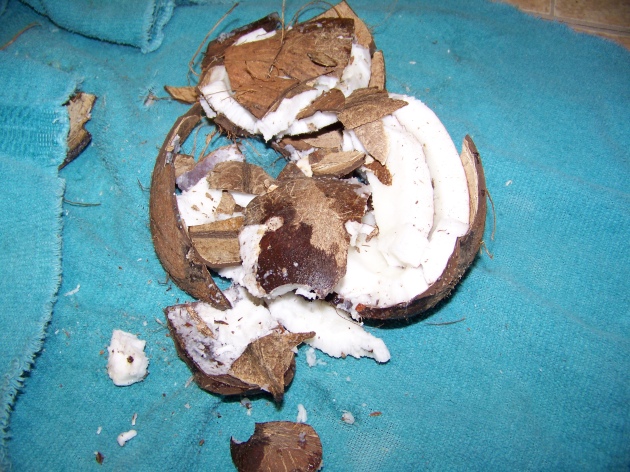
The first one was easy and then it went down hill from there. It was not worth the small amount of coconut water, that’s for sure. Then I wrapped a coconut in a kitchen towel, set it on the floor and smashed it with the hammer. That was fun, but messy.
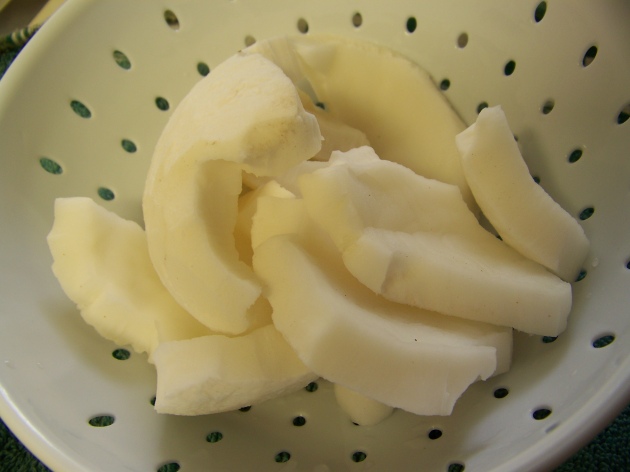
The next part was… a complete waste of time. You have to pry the coconut from the hard shell and then you have to peel the dark skin off the flesh with a knife. While you’re doing this the coconut flesh is just filthy with bits of the dirt and skin and shell all over it, so you have to rinse it.
Shredding these bits and pieces was too much trouble so I decided to puree it with hot water and then drain it through a cheese cloth to make coconut milk (which my kids loved after I added honey and vanilla extract). I decided to spread the fine coconut out on a baking sheet and toast it. Nothing was wasted and although I probably won’t bother again, it was an interesting adventure.
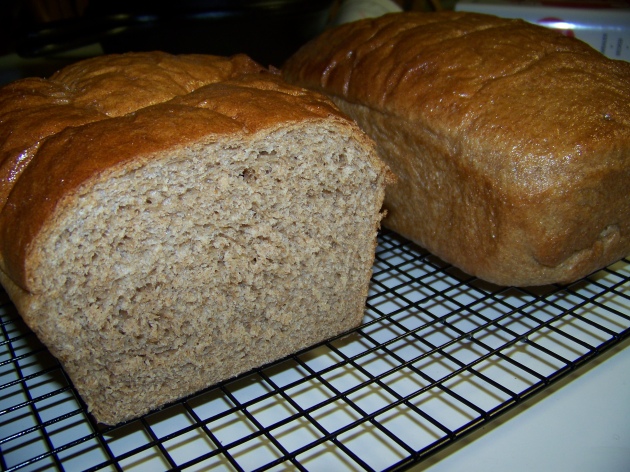
Here’s something else I’m not sure is worth the trouble: homemade 100% whole wheat sandwich bread. I’d given up for a couple months because I couldn’t get it to rise properly. It was dense and crumbly. I took a break and did some more research. I figured out that I was letting it rise too quickly and too long and that I wasn’t kneading it enough to get the gluten working. I was also using too much flour. The recipe calls for 6 cups, but the authors “cups” must be small or it could be that she uses a different brand of flour. In my last attempt (which was successful finally), I didn’t even use 5 cups and still had to add more water. I based my “cup” on weight according to the package. I used King Arthur whole wheat flour which says 30 grams equals 1/4 cup. Now I know why bakers prefer the metric systems when it comes to measuring ingredients. Anyhow, the last batch was light and airy and… well look at it.
But I still don’t know if it’s worth the time. I spent 45 minutes kneading the dough (15 minutes kneading, 15 minutes resting, then 15 minutes kneading again). All that for 2 loaves and one weeks worth of bread. I’ll try to cut the kneading to 30 minutes next time (10 minute intervals), but still. I may have to resort to getting a bread machine, adding vital wheat gluten, all purpose flour or bread flour or worse – buying bread from the grocery store. I really don’t want to do any of that. Bread, help me out here. I really want this to work out.
